CodeIgniter and PieCrust integration
In of our largest web applications is Speak Like A Brazilian. We’ve been working to Open Source it, but first we have to double check the security aspects of this procedure, as well as review the source code.
Recently we added a blog to Speak Like A Brazilian. Navigating in the Internet, we found many tutorials for adding a blog engine to web applications using CodeIgniter.
Since the blog is limited to moderators or developers, we decided to use a static content generator, preferably one that supported Markdown. We opted for PieCrust, and after few tests we were delighted by the flexibility and modularity.
Adding PieCrust to a CodeIgniter project
We will assume you have some basic knowledge on CodeIgniter and PHP (the latter being less required for this post). If not, you can learn more about it on its website.
Download CodeIgniter and unzip it (or import into your IDE workspace). Now download PieCrust. Unzip it to $CI_HOME/tools/piecrust (the tools directory is also used by other tools, like Sparks).
Copy the contents of $CI_HOME/tools/piecrust/website/ to $CI_HOME/application/blog/. This is where you’ll put your blog contents, including posts, pages, macros and templates.
In #CI_HOME/application/blog/_content/, you’ll find the config.yml YAML file. This file contains your blog configuration and is read by PieCrust when it bakes (compiles your website into HTML) and when it servers your blog (using a bundled HTTP server).
Change the contents of this file to look like the following:
site:
    title: Your New PieCrust Website
    description: A sample website running with PieCrust
    author: Anonymous
    pretty_urls: false

smartypants:
    enable: true

server:
    config_variants:
        default:
            site:
                base_url: http://localhost/codeigniter-piecrust-integration/

baker:
    skip_patterns:
        - /^index.php/
    config_variants:
        default:
            site:
                base_url: http://localhost/codeigniter-piecrust-integration/
        production:
            site:
                base_url: http://www.mywebsite.com/
The server entry is used when serving your blog, and the baker entry is used for compiling your pages into HTML. By adding the base URL, you can add links to CodeIgniter pages from your blog. The next steps for your integration will be prepare a build script to serve/bake your blog, and customize the template.
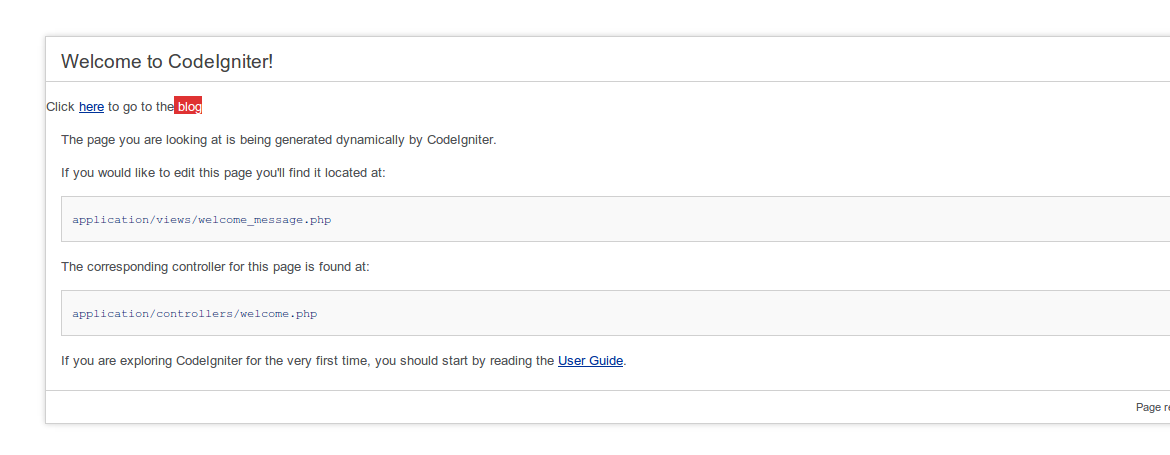
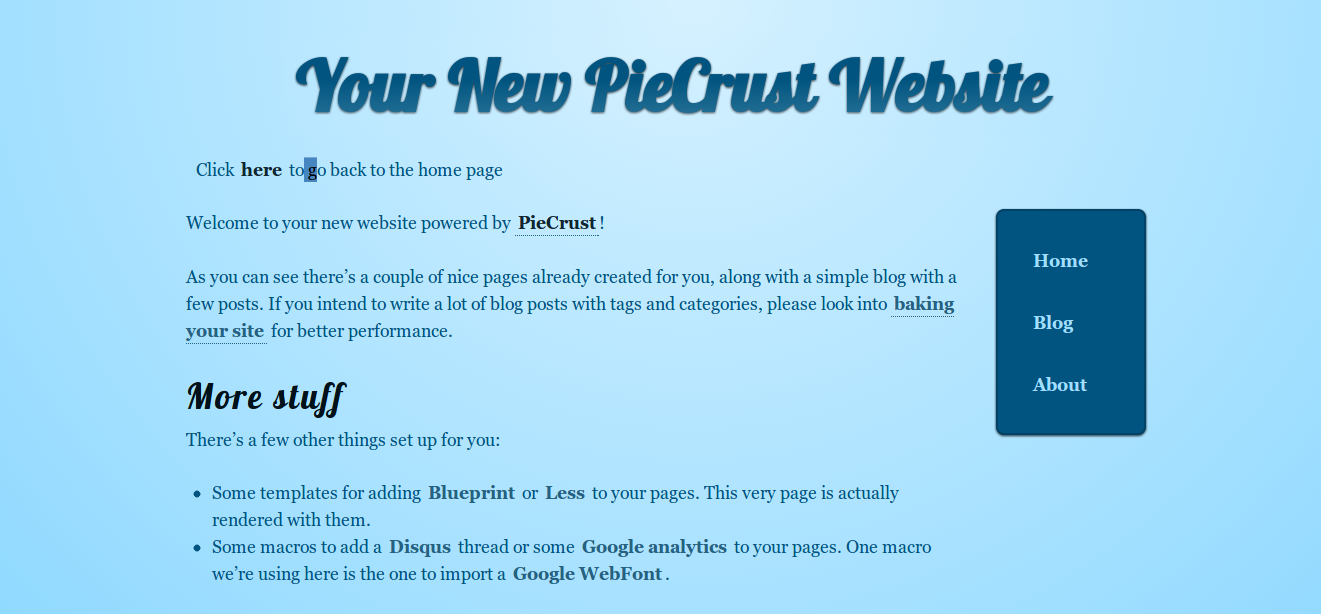
In Speak Like A Brazilian, we’ve created a similar template for our PieCrust blog, so that the user won’t notice he is accessing a different application. You will notice in the screen shots that we have modified the default templates in CodeIgniter and PieCrust to include a link to each other, so you’ll get the idea of how to use the site and blog URL’s in your menus, pages, templates, etc.
Summary
This approach may not be the best choice if you are developing a web site for a client, say, a photographer, that is not used to git or Markdown. But for personal web sites, or other geek related web sites, it can be very hand. Especially since by using PieCrust you can drop WordPress and MySQL, saving some memory in your web server.
We have put up a simple application, with the integration described in this post in this GitHub repository. There is a simple Ant build.xml file, that may be helpful for you when cooking/baking your site. We also have a Jenkins instance monitoring Speak Like A Brazilian git repository, and publishing a new version of the web site for each new commit to the master.
Have fun :-)